> ## Documentation Index
> Fetch the complete documentation index at: https://botpress-pb-update-api.mintlify.site/llms.txt
> Use this file to discover all available pages before exploring further.
# Quickstart
> Install the ADK and create your first agent project.
By the end of this guide, you'll have a working AI agent that responds to messages on Webchat. It takes about 5 minutes.
You will need:
* A [Botpress account](https://sso.botpress.cloud)
* [Node.js](https://nodejs.org/en) (v22.0.0 or higher)
* A supported package manager — [bun](https://bun.sh), [pnpm](https://pnpm.io), [yarn](https://yarnpkg.com) or [npm](https://www.npmjs.com)
Visual learner?
Check out our [ADK Setup Guide with Claude Code and Cursor](https://youtu.be/ZsprRQhTtfo) on YouTube for a step-by-step video guide.
## Installation
Install the ADK CLI globally:
```bash macOS & Linux theme={"theme":{"light":"light-plus","dark":"dark-plus"}} theme={null}
curl -fsSL https://github.com/botpress/adk/releases/latest/download/install.sh | bash
```
```powershell Windows (PowerShell) theme={"theme":{"light":"light-plus","dark":"dark-plus"}} theme={null}
powershell -c "irm https://github.com/botpress/adk/releases/latest/download/install.ps1 | iex"
```
Then, verify the installation:
```bash theme={"theme":{"light":"light-plus","dark":"dark-plus"}} theme={null}
adk --version
```
Log in to your Botpress account:
```bash theme={null}
adk login
```
This will open a browser window for authentication. Once complete, the CLI stores your credentials locally.
## Create your agent
Initialize a new agent project:
```bash theme={null}
adk init my-agent
```
The wizard walks you through three steps:
1. **Select a template**: Pick `hello-world`. This creates a simple agent that responds to webchat messages using an AI model.
2. **Select a package manager**: We recommend [bun](https://bun.sh) for the fastest experience. npm, pnpm, and yarn also work. If you only have one installed, this step is skipped.
3. **Link to Botpress**: Select the workspace you want to deploy to. The CLI creates a bot in that workspace and connects your project to it.
The CLI then automatically installs dependencies and sets up your project in the `my-agent` directory.
Navigate into your project:
```bash theme={null}
cd my-agent
```
## Test your agent
Now, you’re ready to test your agent.
### Start the development server
Start the development server with hot reloading:
```bash theme={null}
adk dev
```
This builds your agent, deploys it to a development bot on Botpress, and starts the dev console at [`http://localhost:3001/`](http://localhost:3001/). Press space in the terminal to open it in your browser.
### View in the dev console
The dev console is your local control panel for building and debugging. Within the dev console, you can:
* Chat with your agent
* Browse its components (actions, workflows, triggers)
* Manage data (tables, knowledge bases, files)
* Run evals
* Inspect traces and logs
* Configure integrations
Go to the **Chat** page and send a message to test your agent:
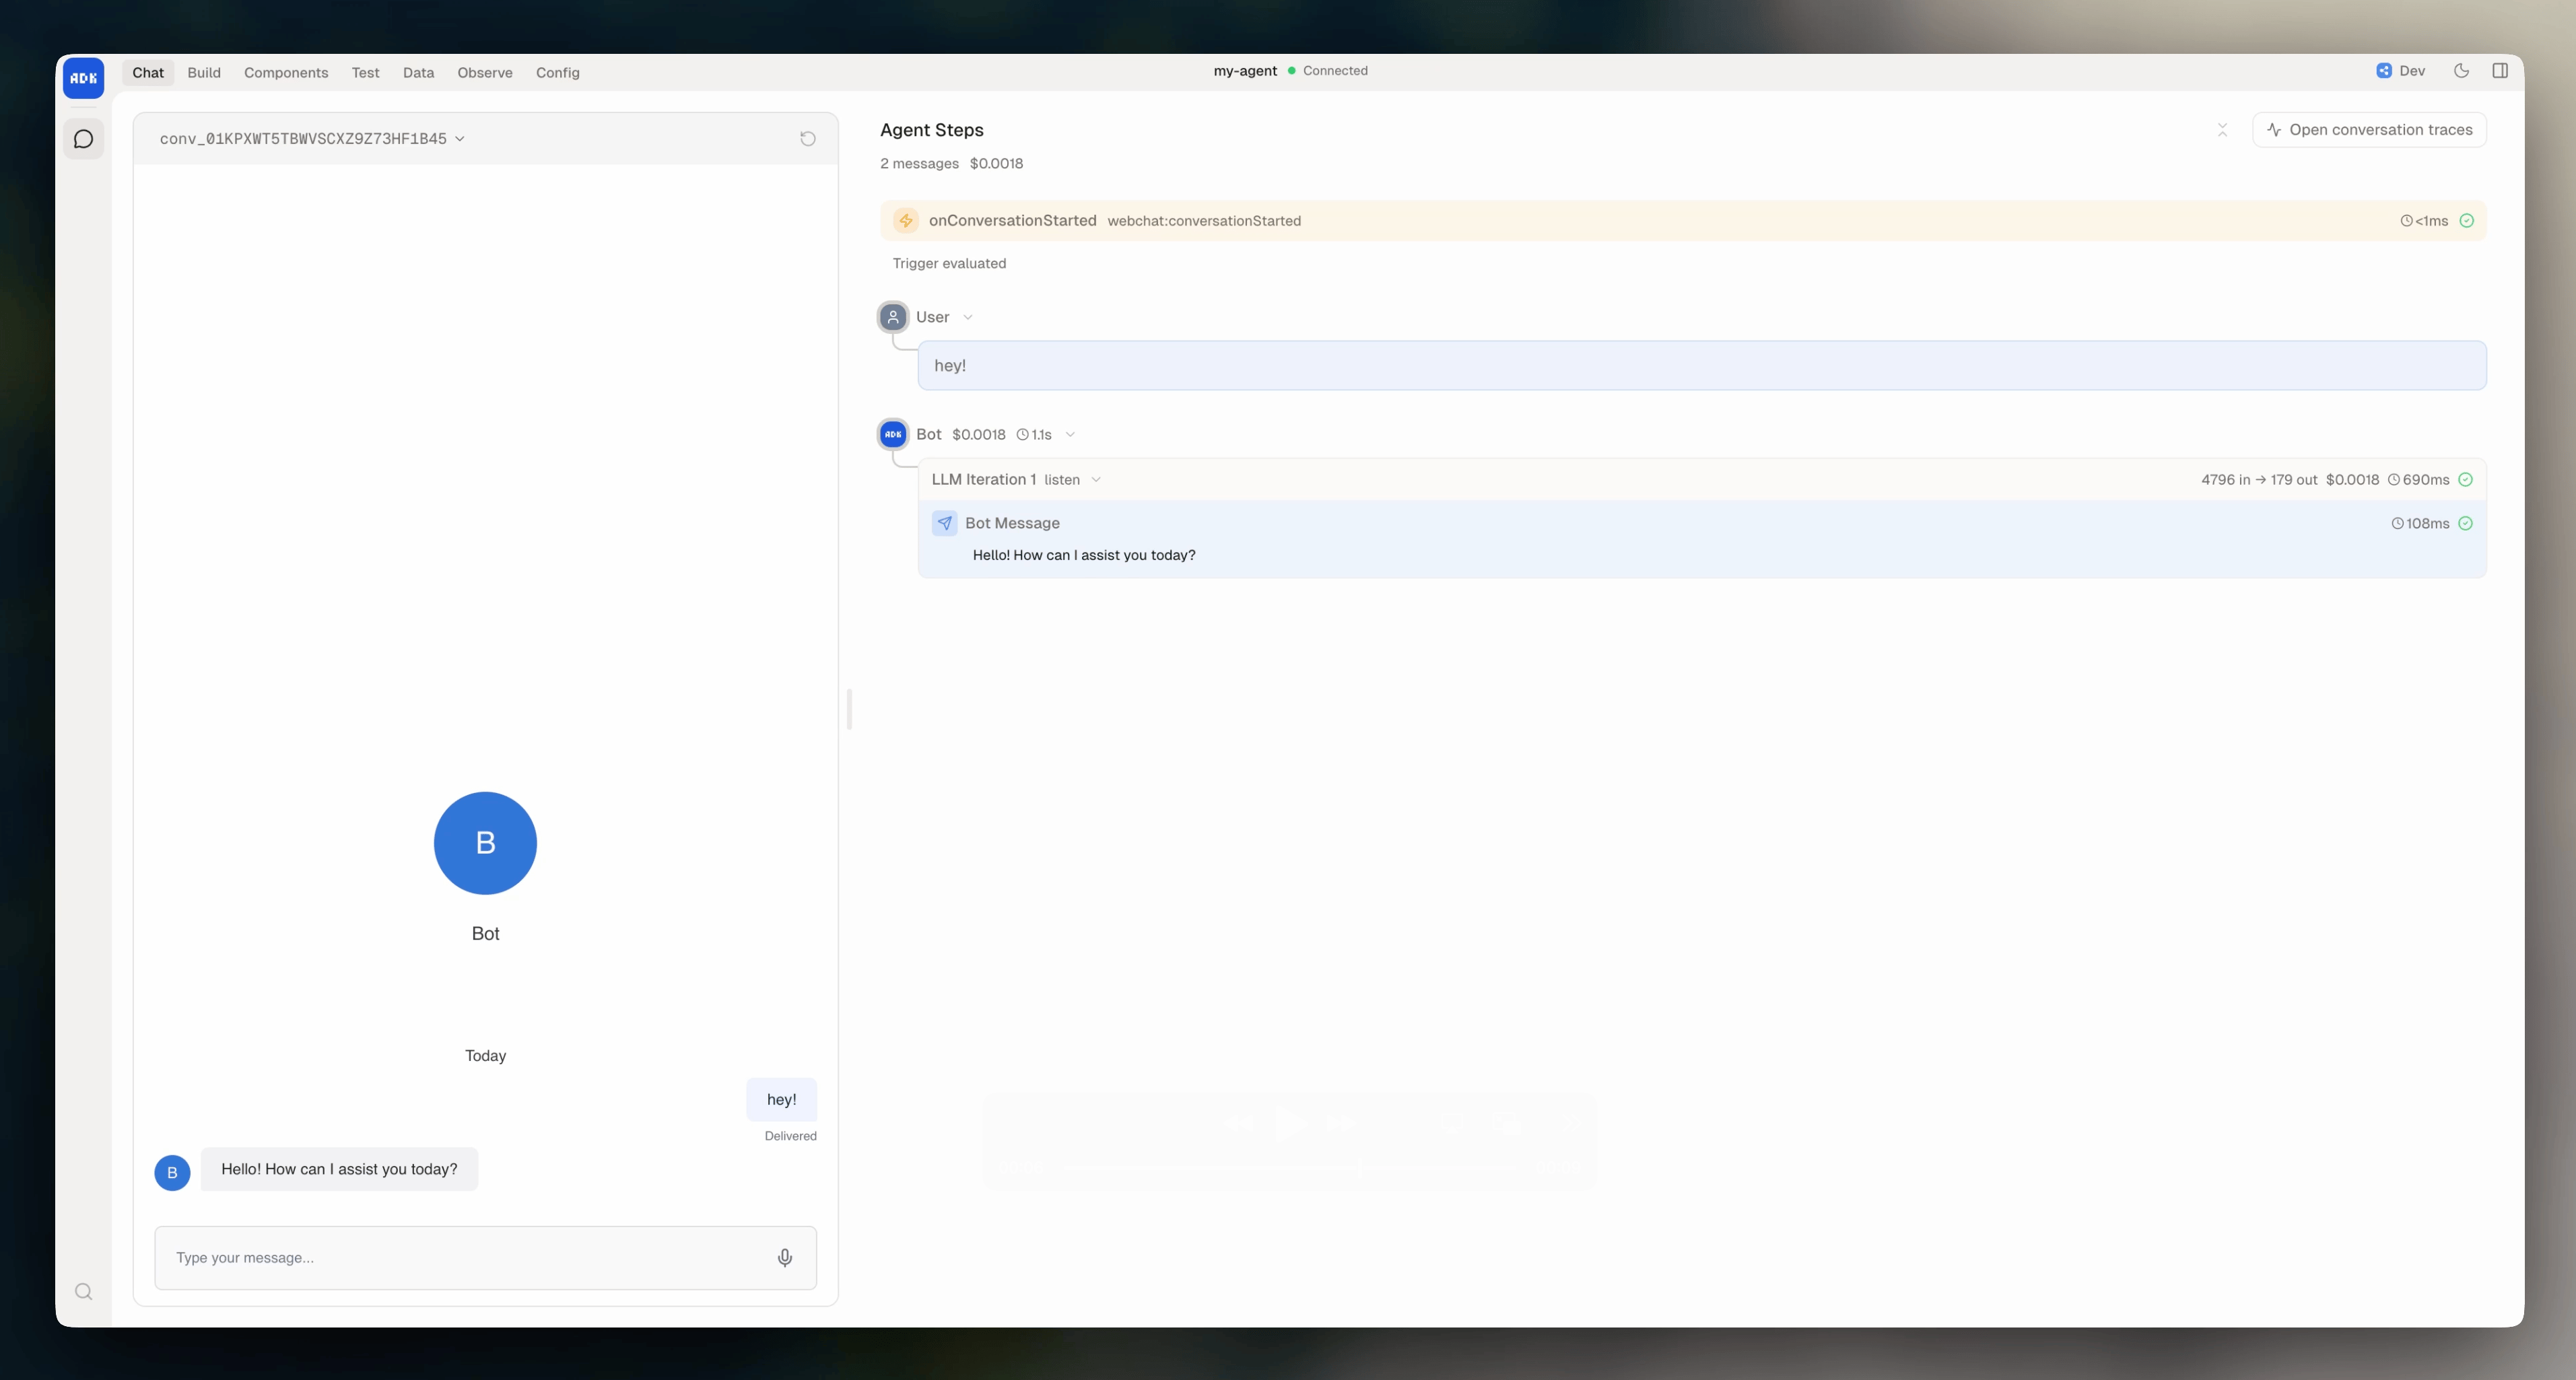
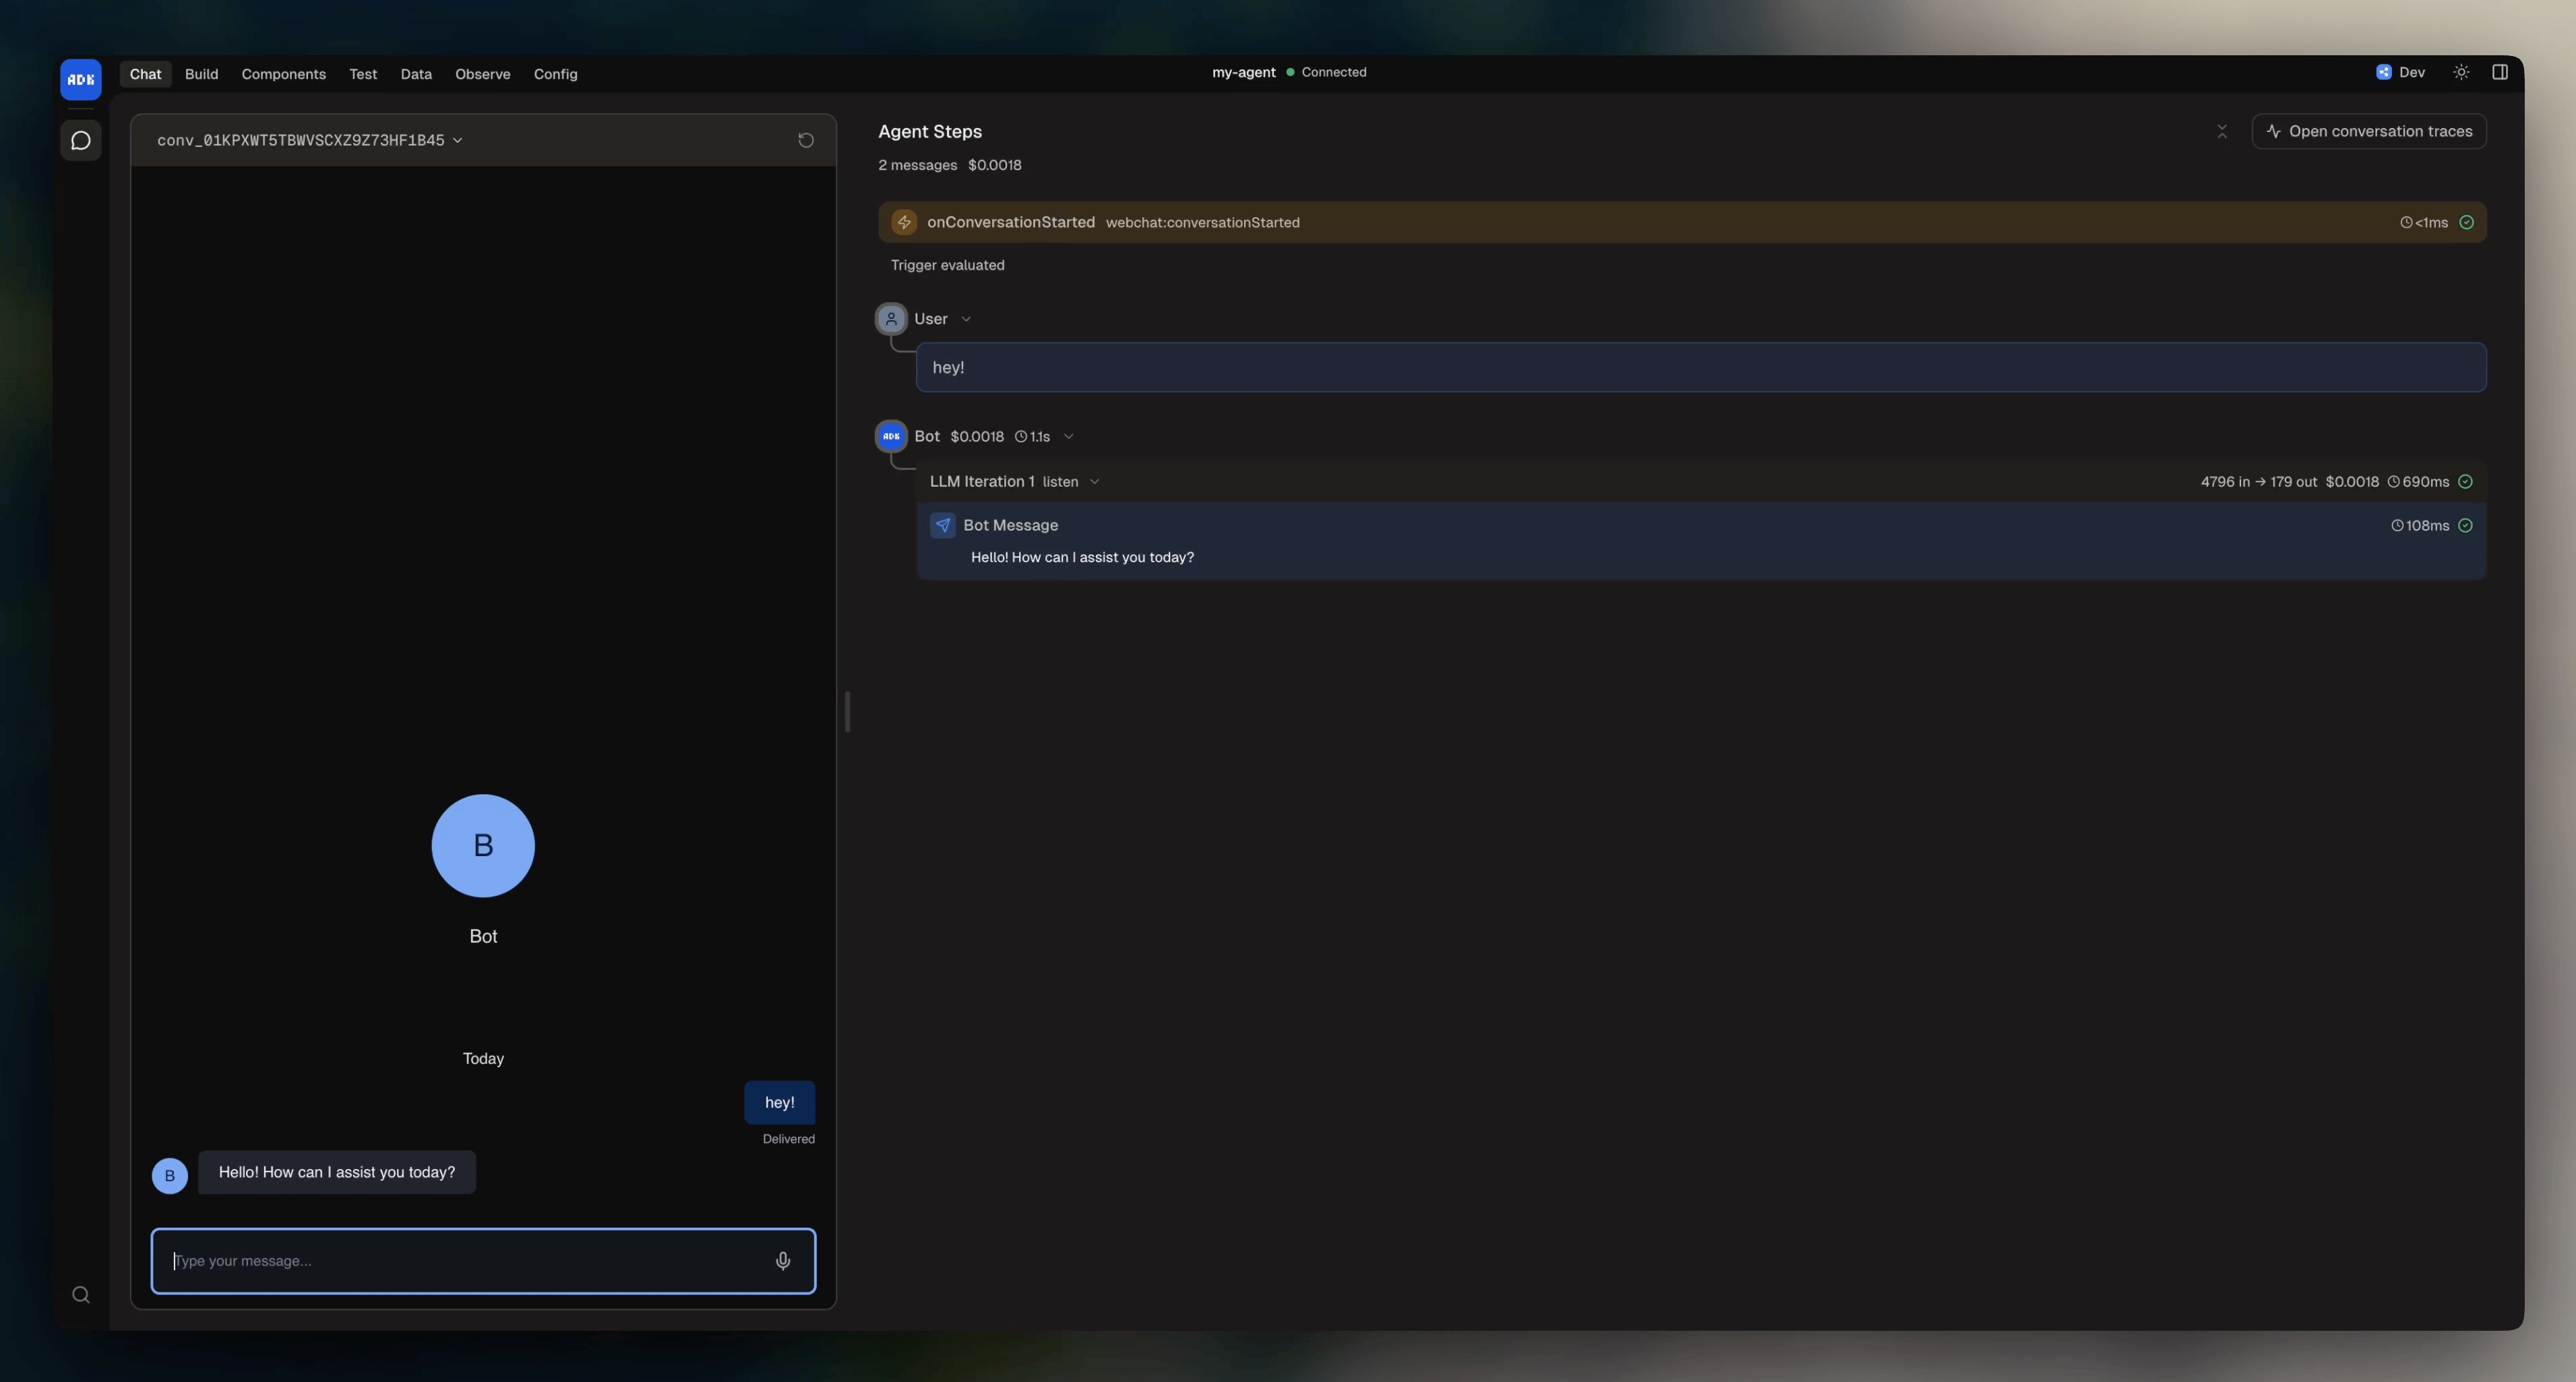 The dev server watches your files and rebuilds on every change.
### Chat in the terminal
Alternatively, open a new terminal window and start a conversation with your agent from the command line:
```bash theme={null}
adk chat
```
```txt theme={null}
Botpress Chat
Type "exit" or press ESC key to quit
👤 Hey!
🤖 Hello! How can I assist you today?
>>
```
## Deploy your agent
When you're ready to go live:
```bash theme={null}
adk deploy
```
This builds your agent for production, runs preflight checks (integration changes, config diffs), syncs your knowledge bases and tables, and uploads everything to Botpress. The CLI walks you through any changes that need approval before deploying.
Once deployed, your agent is live in the workspace you linked during `adk init`.
You deployed your first agent using the ADK!
***
Next, learn what's in the project you just created and how to configure it:
Project structure, models, state, and dependencies.
The dev server watches your files and rebuilds on every change.
### Chat in the terminal
Alternatively, open a new terminal window and start a conversation with your agent from the command line:
```bash theme={null}
adk chat
```
```txt theme={null}
Botpress Chat
Type "exit" or press ESC key to quit
👤 Hey!
🤖 Hello! How can I assist you today?
>>
```
## Deploy your agent
When you're ready to go live:
```bash theme={null}
adk deploy
```
This builds your agent for production, runs preflight checks (integration changes, config diffs), syncs your knowledge bases and tables, and uploads everything to Botpress. The CLI walks you through any changes that need approval before deploying.
Once deployed, your agent is live in the workspace you linked during `adk init`.
You deployed your first agent using the ADK!
***
Next, learn what's in the project you just created and how to configure it:
Project structure, models, state, and dependencies.