> ## Documentation Index
> Fetch the complete documentation index at: https://botpress-pb-update-api.mintlify.site/llms.txt
> Use this file to discover all available pages before exploring further.
# Send custom events from your website to Webchat
You can send custom events from your website to Webchat. This is useful if you want your bot to transition to a certain Node or Workflow when something happens on your website.
## With embedded Webchat
If you added Webchat to your website [using the embed code](/webchat/get-started/quick-start), follow the steps below to send custom events:
You will need:
* A website with an [embedded bot](/webchat/get-started/quick-start)
* Familiarity with JavaScript
Visual learner? Check out our [YouTube guide](https://www.youtube.com/watch?v=dDGY_wHFt3s\&pp=0gcJCY0JAYcqIYzv) on sending custom events.
First, set up an event to send Webchat from your website's source code. Use the [`window.botpress.sendEvent`](/webchat/interact/reference#sendevent) method:
```javascript index.js theme={null}
const customPayload = {
"test": "test"
}
window.botpress.sendEvent(customPayload)
```
You can replace the data in `customPayload` with anything you like.
Next, add a [Custom Trigger](/studio/concepts/triggers#custom-trigger) to your bot's Workflow:
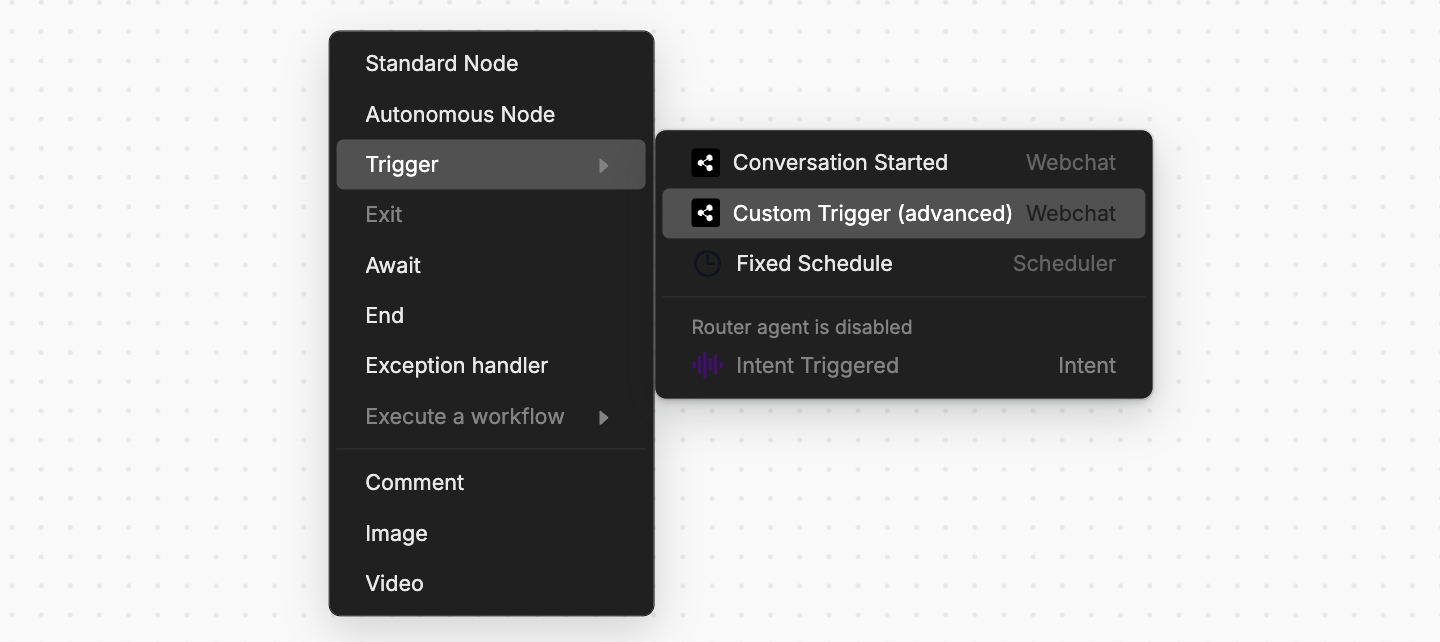
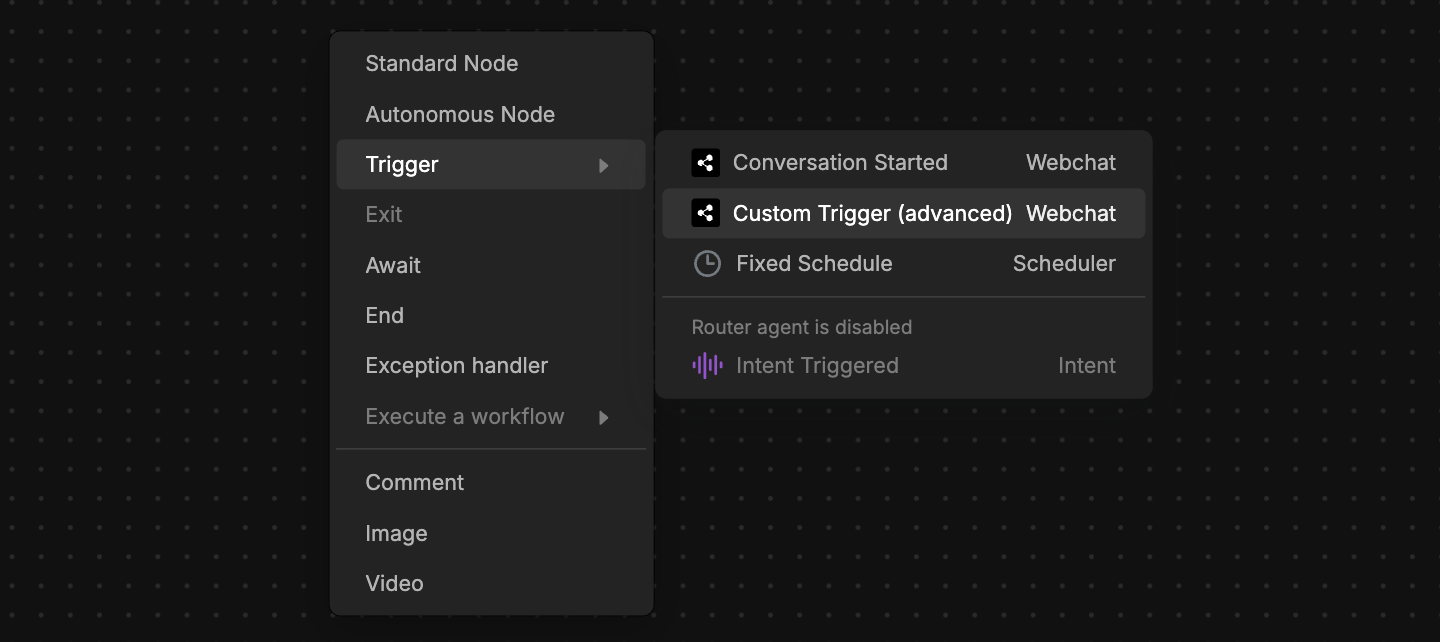
1. In your Workflow, right-click and select **Trigger**, then **Custom Trigger**:
2. In the **Event Filter** field, enter `{{event.payload}}`. This will capture the most recent event you send.
3. Select **Test**, then **Show last received events**. This will display any events you've sent from your website.
4. If you've already sent your event, it should show up here. Select **Add as Test**, then **Save**.
This step is mandatory. The Custom Trigger won't work until you've successfully tested it.
Now you can test your Custom Trigger:
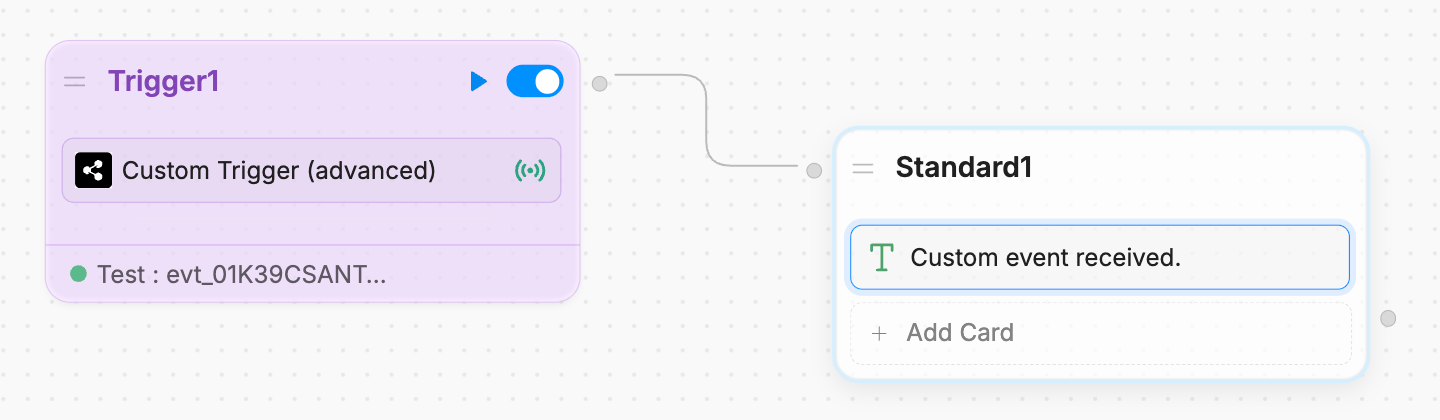
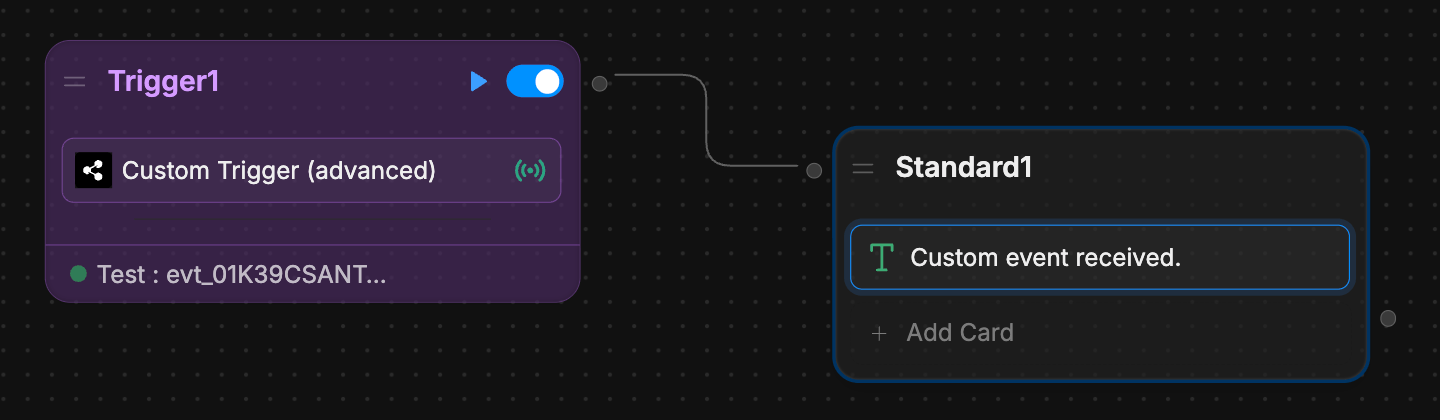
1. Add a transition from the Custom Trigger to another Node. For example:
2. Select the button to test the Custom Trigger's behaviour in the Studio's [Emulator](/studio/concepts/emulator).
Once you've re-published your bot, it'll respond to custom events.
## With the Webchat React library
If you're using the [Webchat React library](/webchat/react-library/get-started), follow the steps below to send custom events:
You will need:
* A working React app that [implements Webchat](/webchat/react-library/get-started#step-2%3A-build-a-component)
At the top level of your React component that renders Webchat, add the [`useWebchat`](/webchat/react-library/hooks/use-webchat-client) hook and destructure the `client` object:
```jsx Hook by itself theme={null}
const { client } =
useWebchat({
clientId: "xxxxxxxx-xxxx-xxxx-xxxx-xxxxxxxxxxxx"
// Replace with your actual client ID
})
```
```jsx Example in a full React app expandable lines highlight={13-16} theme={null}
import { Fab, Webchat, useWebchat } from '@botpress/webchat'
import { useState } from 'react'
function App() {
const clientId = "xxxxxxxx-xxxx-xxxx-xxxx-xxxxxxxxxxx"
// Replace with your actual client ID
const [isWebchatOpen, setIsWebchatOpen] = useState(false)
const toggleWebchat = () => {
setIsWebchatOpen((prevState) => !prevState)
}
const { client } =
useWebchat({
clientId: clientId
})
return (
<>
toggleWebchat()}
style={{
position: 'fixed',
bottom: '20px',
right: '20px',
width: '64px',
height: '64px'
}}
/>
)
}
export default App
```
Remember to replace the placeholder `clientId` with your bot's actual client ID.
Now, use the `client` instance to send an event to Webchat. First, define a payload object with any data you'd like. For example:
```jsx theme={null}
const customPayload = {
"test": "test"
}
```
Then, send the event using `client.sendEvent(customPayload)`. For example, in a button:
```jsx Send event button theme={null}
```
```jsx Example in a full React app expandable lines highlight={17-19, 23-25} theme={null}
import { Fab, Webchat, useWebchat } from '@botpress/webchat'
import { useState } from 'react'
function App() {
const clientId = "xxxxxxxx-xxxx-xxxx-xxxx-xxxxxxxxxxx"
// Replace with your actual client ID
const [isWebchatOpen, setIsWebchatOpen] = useState(false)
const toggleWebchat = () => {
setIsWebchatOpen((prevState) => !prevState)
}
const { client } =
useWebchat({
clientId: clientId
})
const customPayload = {
"test": "test"
}
return (
<>
toggleWebchat()}
style={{
position: 'fixed',
bottom: '20px',
right: '20px',
width: '64px',
height: '64px'
}}
/>
)
}
export default App
```
Next, add a [Custom Trigger](/studio/concepts/triggers#custom-trigger) to your bot's Workflow:
1. In your Workflow, right-click and select **Trigger**, then **Custom Trigger**:
2. In the **Event Filter** field, enter `{{event.payload}}`. This will capture the most recent event you send.
3. Select **Test**, then **Show last received events**. This will display any events you've sent from your website.
4. If you've already sent your event, it should show up here. Select **Add as Test**, then **Save**.
This step is mandatory. The Custom Trigger won't work until you've successfully tested it.
Now you can test your Custom Trigger:
1. Add a transition from the Custom Trigger to another Node. For example:
2. Select the button to test the Custom Trigger's behaviour in the Studio's [Emulator](/studio/concepts/emulator).
Once you've re-published your bot, it'll respond to custom events.
 2. In the **Event Filter** field, enter `{{event.payload}}`. This will capture the most recent event you send.
3. Select **Test**, then **Show last received events**. This will display any events you've sent from your website.
4. If you've already sent your event, it should show up here. Select **Add as Test**, then **Save**.
2. In the **Event Filter** field, enter `{{event.payload}}`. This will capture the most recent event you send.
3. Select **Test**, then **Show last received events**. This will display any events you've sent from your website.
4. If you've already sent your event, it should show up here. Select **Add as Test**, then **Save**.
 2. Select the