> ## Documentation Index
> Fetch the complete documentation index at: https://botpress-pb-update-api.mintlify.site/llms.txt
> Use this file to discover all available pages before exploring further.
# Send user data
> Provide your bot with data about the current user.
You can use Webchat to easily **provide your bot with information about the current user**. This is useful if your website stores user data (like with a customer login) and you want your bot to have access to that data.
Sending user data to your bot allows it to:
* Address the user by name
* Have immediate access to their contact information
* Streamline their experience
You will need:
* A website with an [embedded bot](/webchat/get-started/quick-start)
* Familiarity with HTML and JavaScript
## Update user data
Use the [`window.botpress.updateUser`](/webchat/interact/reference#updateuser) method to update user data after your website has initialized Webchat:
```js theme={null}
window.botpress.updateUser({
data: {
firstName: newFirstName,
lastName: newLastName,
email: newEmail,
},
})
```
The `updateUser` method is only available after Webchat has been initialized. To avoid errors, consider [listening for the initialization event](/webchat/interact/listen-to-events#webchat-is-initialized) before calling `updateUser`.
## Initialize with user data
You may want to provide some user data while initializing Webchat on your website. This allows your bot to deliver a more personalized conversation experience from the start.
To provide user data as soon as Webchat is ready, listen for Webchat's initialization event and call [`window.botpress.updateUser`](/webchat/interact/reference#updateuser) as soon as it fires:
```js {3-9} theme={null}
window.botpress.on('webchat:initialized', () => {
console.log('Webchat has been initialized. Loading user...');
window.botpress.updateUser({
data: {
firstName: newFirstName,
lastName: newLastName,
email: newEmail,
},
})
});
```
## Access user data
You can also retrieve the user data your bot currently has access to:
### In Studio
Once you've provided Webchat with user data, you can use the [Get User Data](/studio/concepts/cards/webchat#get-user-data) Card to access it in the [Studio](/studio/introduction):
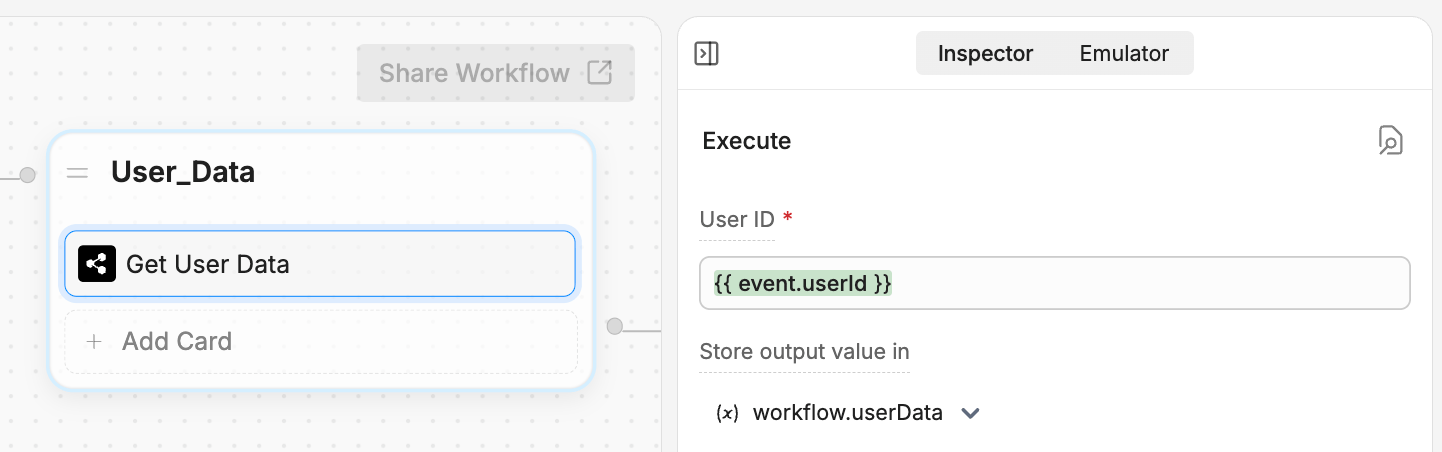
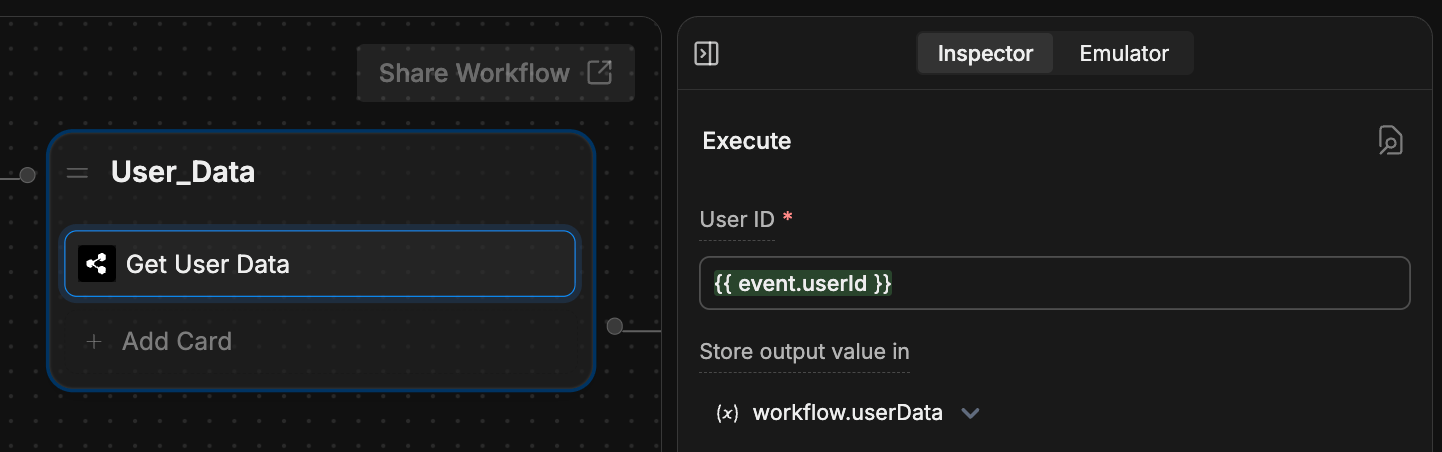 In the **User ID** field, enter `{{ event.userId }}`. You can store the user data in any variable you'd like.
### On your website
Use the [`window.botpress.getUser`](/webchat/interact/reference#getuser) method to access the current user data programmatically:
```js theme={null}
async function getBotpressUser() {
const user = await window.botpress.getUser()
console.log(user)
}
getBotpressUser();
```
In the **User ID** field, enter `{{ event.userId }}`. You can store the user data in any variable you'd like.
### On your website
Use the [`window.botpress.getUser`](/webchat/interact/reference#getuser) method to access the current user data programmatically:
```js theme={null}
async function getBotpressUser() {
const user = await window.botpress.getUser()
console.log(user)
}
getBotpressUser();
```